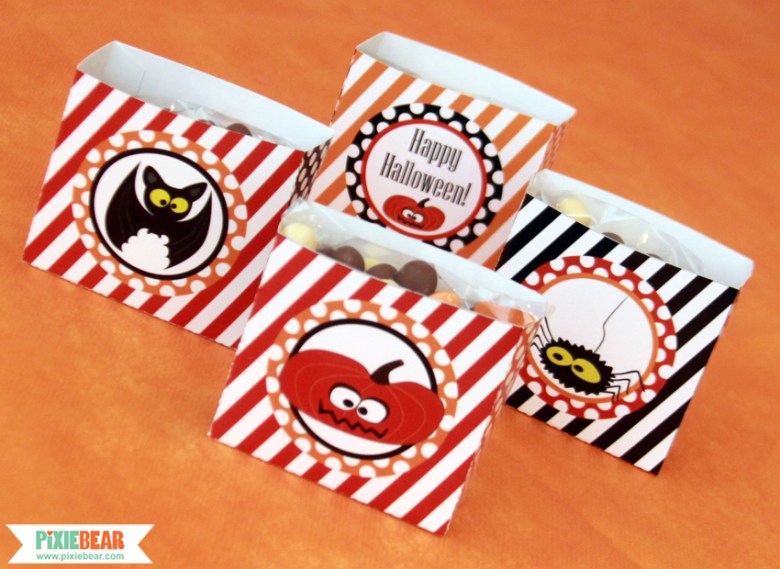
I sometimes get asked by customers how easy it is to assemble the Party Favor Boxes in my printable kits.
Those of you who already know me a little bit from reading this blog, know I like to keep things simple – so the short answer is: it’s pretty easy!
But here is a longer more detailed answer, so you can see for yourself just how simple it really is 🙂 Depending on your kit the box may come in slightly different shapes, but the steps are the same for all of them.
How to Assemble a Party Favor Box
* Also check out the infographic at the end of the post! *
1. Print out the favor box template on a letter-sized or A4 cardstock – I recommend using thicker paper to make the box more sturdy.
2. Cut around the edges of the box, on the full-line border. You can use scissors, but I prefer using a cutting knife and ruler – it’s more precise and goes faster, and you’ll probably be making at least several of these boxes to hand out to your party guests.
3. This next step will really help you to get a much more professional-looking box, and will also make it easier for you to fold it: score along the dashed lines! Personally, I use a ruler and a tracing wheel (this is something I had lying around the house from the time my mother used to sew), but if you don’t have one handy you can try this trick: Use the other side of your cutting knife (not the blade) and a ruler to gently score along the dashed lines. Remember – you only need to make a dent, not cut the paper this time!
4. Apply glue to the box’s tabs – You don’t need to put glue on all tabs. Since these boxes will be filled with food, I prefer to use as little glue as possible to keep everything clean. The best option is to use double-sided tape and only place it on the side tab and one of the wide bottom tabs (see the infographic below).
5. Fold the box along the dashed lines, remove the cover of the double-sided tape, and attach the tabs to form the 3D shape of the box.
6. This is the fun part: fill your finished boxes with goodies! You can place them at your party table with a sign inviting guests to take one or hand them out personally to each guest.
I like to fill favor boxes with candies and chocolates for my guests, what do you like to put in yours?


Interesting tutorial. It may be “easy” for you, but reading all the stages, have to admit I’m glad I past the stage of needing to make them myself! Can leave it to my daughters, instead! Thanks for sharing, nevertheless.
Thanks Isoble. I think that making the box itself is quite simple, the challenge might be that you almost always need to make more than one! It is easier if you have someone to help out or do it for you I guess 🙂
I love your designs of the boxes, they are pretty awesome!
Thanks so much Natalia! 🙂
These are so cute! I’m sure they will enhance any party!
Thanks so much Linda! Kids love these as party favors, especially when they’re filled with candy 🙂
I’m loving them all! Pinned and tweeted. Thank you for being a part of our party! I hope to see you on Monday at 7 pm. We love partying with you! Lou Lou Girls
Such a great and fun tutorial! Thank you so much for sharing with us at Thursday Favorite Things blog hop.